How to Choose the Best Vibration Measurement Meter?
Choosing the right Vibration Measurement Meter can determine whether a machine receives timely maintenance or suffers an unexpected shutdown. In a workshop, a technician may inspect a motor bearing, pump housing, or fan assembly with limited time. The meter must convert subtle movement into useful evidence. A stable reading matters, but so do sensor placement, frequency range, measurement units, and operating conditions. Experience shows that a low price does not always mean poor performance. It can, however, hide important limitations.
This guide examines the practical factors behind a reliable purchase. It considers vibration velocity, acceleration, displacement, frequency analysis, sensor mounting, display clarity, and data storage. A technician working beside a noisy compressor needs more than a bright screen. The instrument should provide repeatable results, withstand regular handling, and support decisions that can be explained later. Calibration records and manufacturer documentation also deserve attention. They are easy to overlook.
Real maintenance work is rarely perfect. A sensor may sit slightly off-center, or a hot surface may affect the inspection. No meter removes every uncertainty. That is why experienced users compare readings, observe machine conditions, and record the measurement location. This guide also acknowledges a common weakness: specifications can appear impressive without matching actual field needs. The best choice depends on the equipment, inspection frequency, user skill, and maintenance goals. A careful selection process reduces guesswork and makes vibration data more useful.
Types of Vibration Measurement Meters and Their Core Functions
How to Choose the Best Vibration Measurement Meter?
Types of Vibration Measurement Meters and Their Core Functions
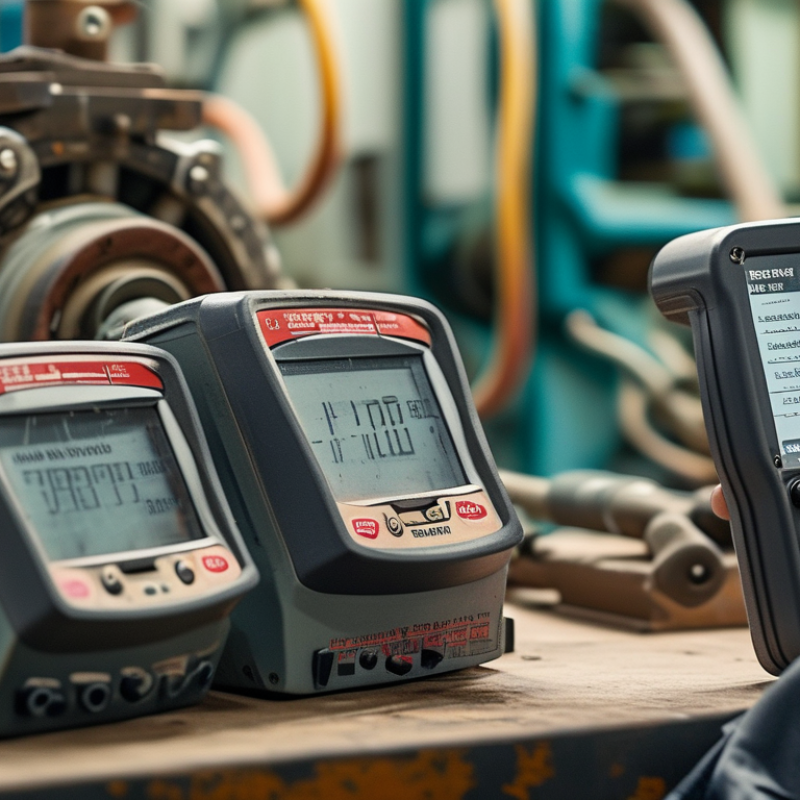
Choosing a vibration meter begins with the machine, not the instrument. A handheld accelerometer meter measures acceleration through a sensor attached to the housing. It works well on motors, pumps, fans, and gearboxes. Acceleration often reveals high-frequency bearing problems. Keep the sensor firmly positioned. A loose magnet can create misleading peaks.
Velocity meters are widely used for general machine condition checks. They show vibration in millimeters per second or inches per second. This reading helps compare equipment against maintenance limits and historical records. Displacement meters measure movement at lower frequencies. They suit large, slow machines and structures where shaft motion is important. The wrong measurement range can hide a developing fault.
For deeper diagnosis, choose a vibration analyzer with frequency spectrum functions. It can separate running speed, harmonics, and bearing-related frequencies. A data-logging meter stores readings from repeated inspection routes. This supports trend analysis rather than one-time decisions. Some technicians prefer non-contact proximity sensors for rotating shafts. These sensors measure shaft position and orbit movement without touching the surface. Calibration matters more than impressive screen features. I have seen clean-looking readings fail after poor sensor placement. No meter is perfect. Check temperature, mounting method, frequency range, and calibration status before trusting the result. A small field note may prevent a costly assumption.
Step-by-Step Process for Selecting the Right Vibration Meter
Choosing a vibration meter should begin with the machine, not the instrument. Start by identifying the equipment, rotating speed, bearing type, and measurement points. A pump may need readings near bearings, couplings, and the motor housing. Mark each location clearly.
Define the fault you need to detect. Overall velocity can reveal imbalance or looseness, while acceleration often helps identify bearing damage. Check the expected frequency range before choosing a sensor. Confirm whether the meter supports displacement, velocity, acceleration, or all three. Select suitable units and measurement ranges. Small details matter.
Check the mounting method. A magnetic base is quick, but a fixed stud usually gives more repeatable results. Handheld probes can be useful, though pressure and angle may change readings. I once treated inconsistent readings as machine faults. The mounting method was the real problem. It was an expensive lesson.
Review the meter’s accuracy, calibration status, environmental rating, and data storage. Choose a device with traceable calibration and clear documentation. Compare its specifications with recognized vibration guidance, such as ISO 20816 practices. Test it on a known machine before field use. Record temperature, load, speed, location, and time with every reading. Without context, numbers can mislead. Recheck unusual results before making a maintenance decision. A practical meter should fit your workflow, not merely offer the largest feature list.
How to Choose the Best Vibration Measurement Meter
Step 1: Match the meter's frequency coverage to the machine condition you need to evaluate.
The ranges shown are representative engineering bands: low-speed machinery commonly requires low-frequency response, general rotating-machine screening often uses vibration velocity across a broader mid-frequency range, and bearing impact or envelope measurements require higher-frequency response. Confirm the required bandwidth, sensor type, measurement units, and applicable machine standard before selecting a meter.
Best Practices for Accurate Vibration Measurements
How to Choose the Best Vibration Measurement Meter?
Accurate vibration measurement starts with the machine, not the meter. Identify the equipment, shaft speed, bearing type, and expected vibration level. Choose a meter that covers the required frequency range. A basic overall-value meter may suit routine checks, while frequency analysis helps locate imbalance, looseness, or bearing damage. Select a suitable sensor, such as an accelerometer for high-frequency faults. Check whether the meter records RMS, peak, or peak-to-peak values. These readings are not interchangeable.
Mounting matters greatly. A loose magnetic connection can distort high-frequency results. For repeatable testing, use a stud mount when practical. Keep the sensor position consistent on every inspection. Mark the measurement points near bearings, then record direction and operating speed. Take readings after the machine reaches normal temperature and load. Background vibration can confuse the result. Compare measurements with a verified baseline, not only with general limits.
Tips: Calibrate the meter regularly. Inspect cables before testing. Keep the sensor surface clean. Repeat an unusual reading. I once trusted a single reading too quickly; the mounting was poor. That mistake changed the diagnosis. Avoid measuring beside heavy impacts or unstable supports. Save raw values, temperature, speed, and machine condition. Small details often explain large differences. Their importance is easy to underestimate.

.svg)


